Booking Tags allow you to categorise and organise your bookings for enhanced searching, reporting, and exporting. This feature works similarly to contact tags, providing greater flexibility in managing your data.
Setting Up Booking Tags
IMPORTANT: To start using Booking Tags, you’ll need to define them in your settings. While you can free-type tags directly on bookings, it’s recommended to create a predefined list for consistency—especially if multiple team members are using Overture.

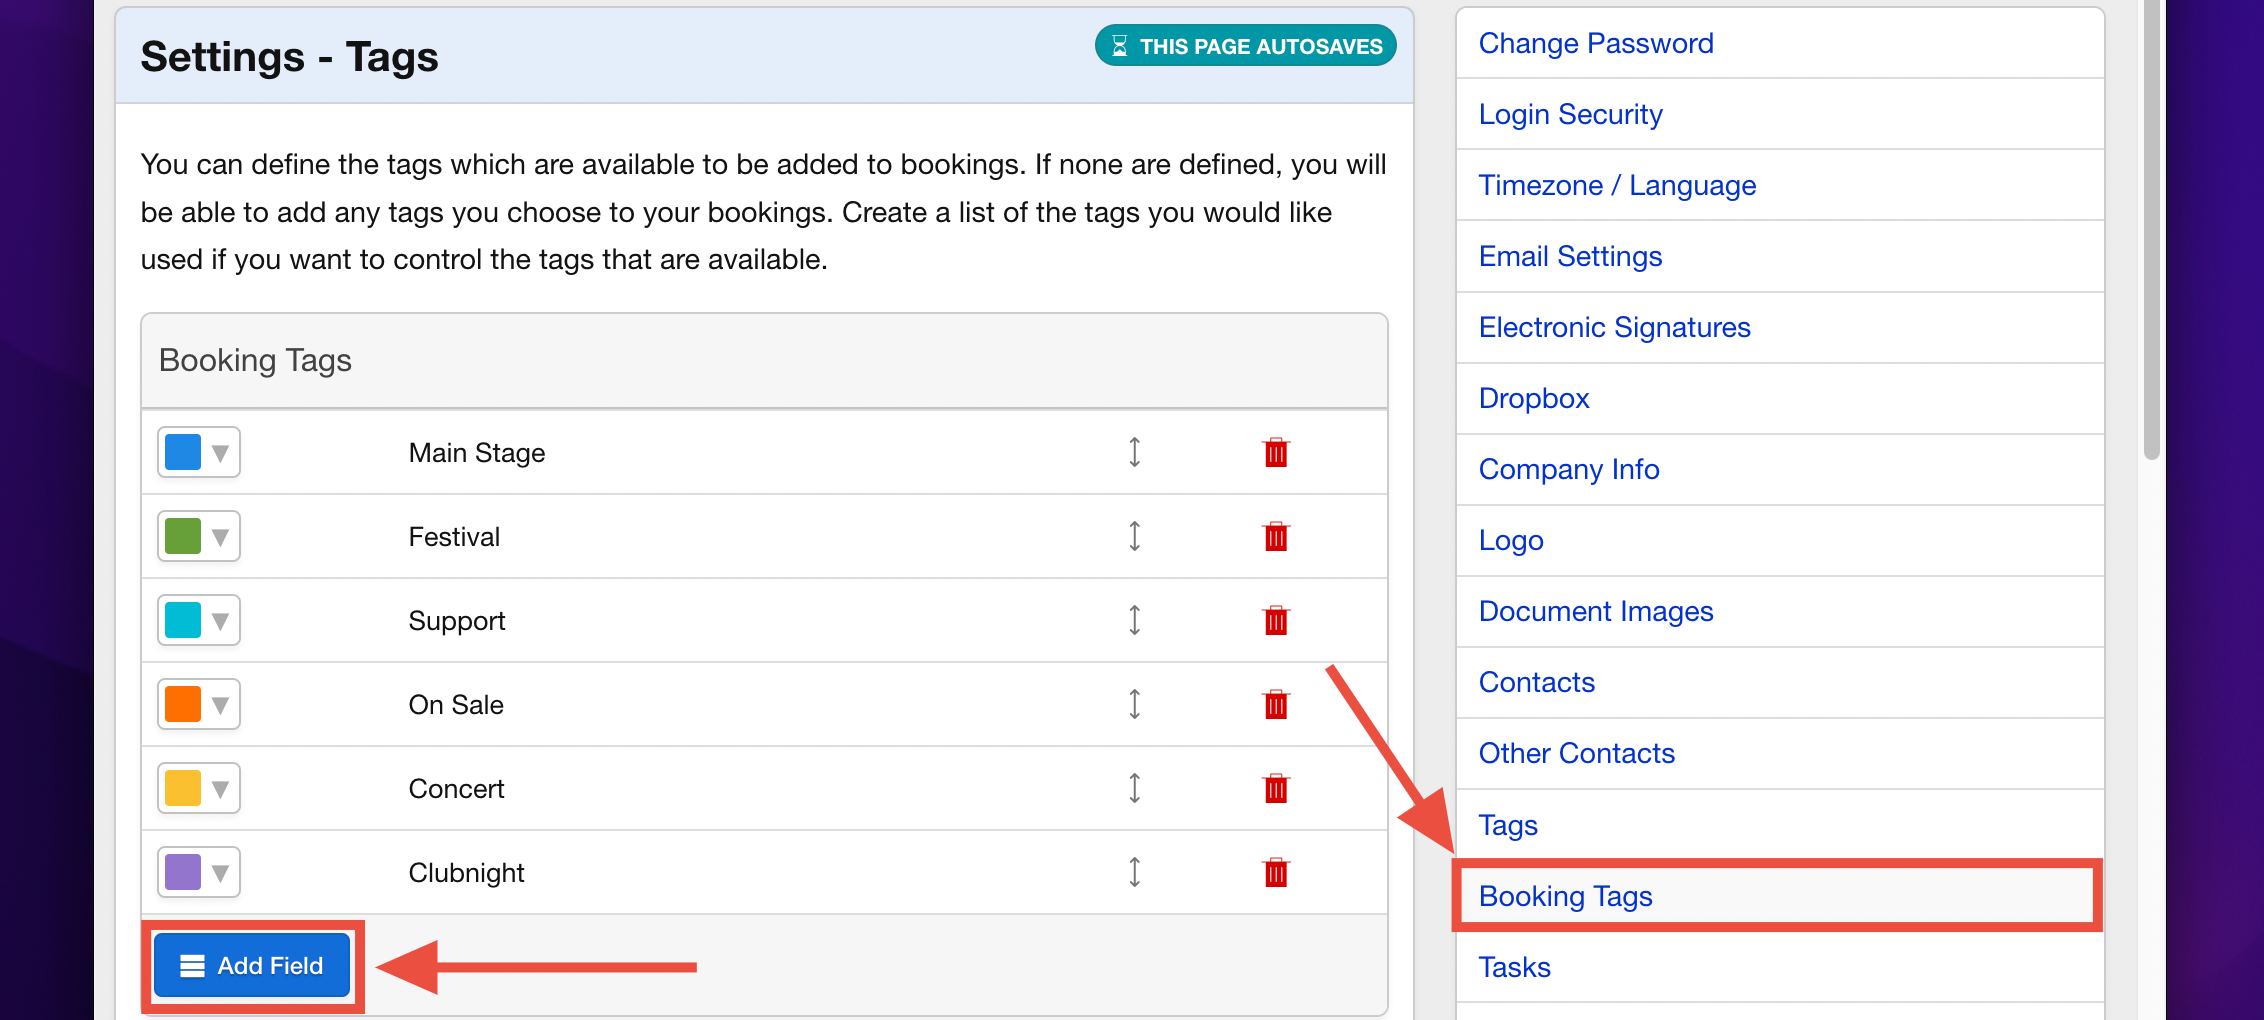
Navigate to Settings > Bookings Tags and click the blue Add Field button. Enter your desired tag name, press Enter, and assign a colour to the tag. Add as many tags as needed. For example, you might create tags for regions, event details (e.g., “Main Stage”), or other custom categories relevant to your workflow.
Adding Tags to Bookings
Once your tags are set up, you can begin tagging bookings. At the top of a booking page, click Add Booking Tag to open a selection window.

Choose your tags from the predefined list, and click Save Tag after each selection. When finished, click Save & Close to apply the tags, which will then appear at the top of the booking.

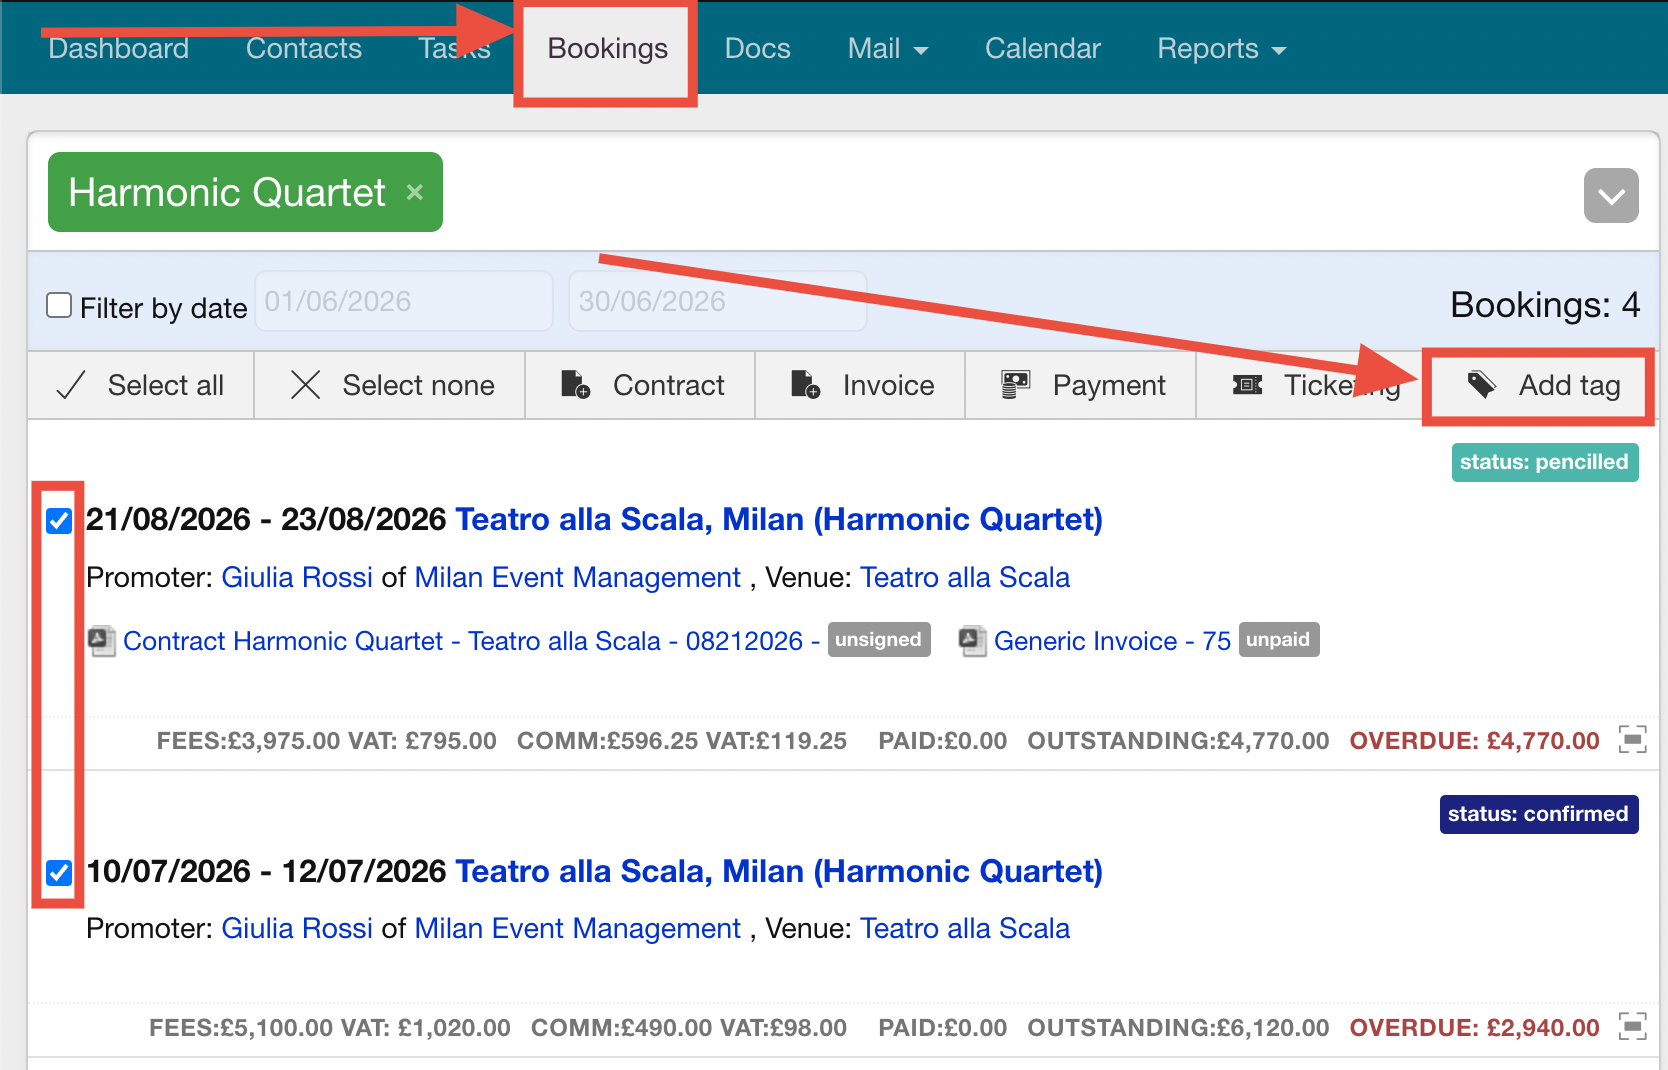
To tag multiple bookings simultaneously, go to the Bookings List screen. Select the bookings using the checkboxes on the left, then click the Add Tag button in the toolbar.

Using Booking Tags for Searches and Reports
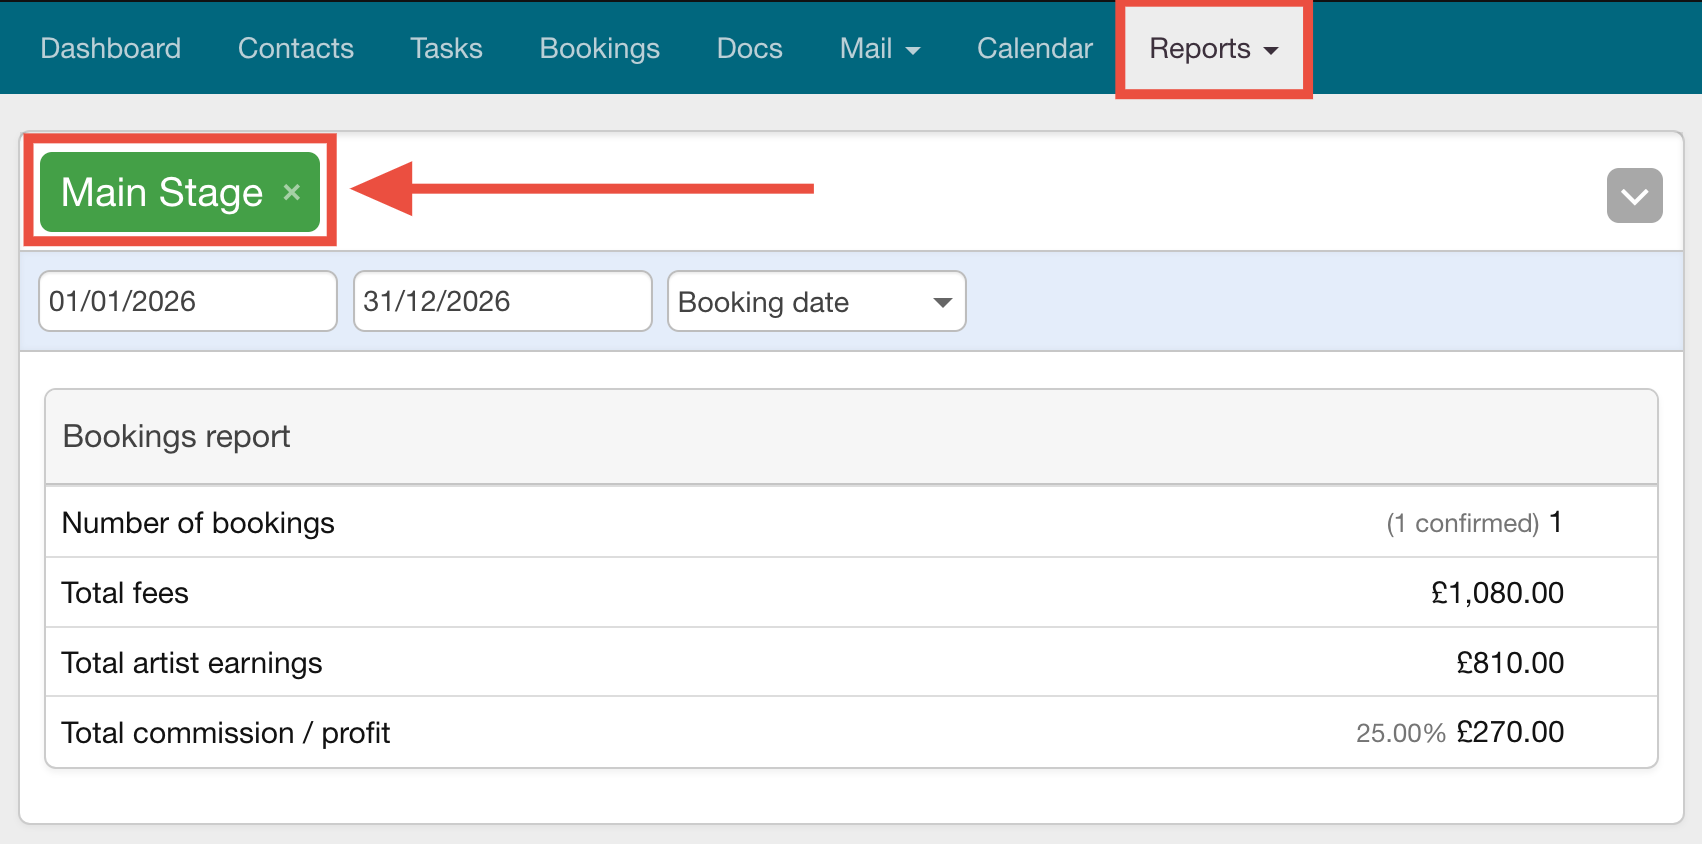
Currently, you can search using Booking Tags on the Bookings Report and the Bookings List page. In future updates, Overture plans to expand search functionality, allowing you to search tags across additional reports by simply typing the tag name into the search bar.

By using Booking Tags effectively, you can streamline your workflow, organise bookings data, and improve the overall efficiency of your team.
