Sending emails efficiently is a key feature in Overture, with tools designed to streamline your workflows. To get started, it’s essential to configure your mail settings to align with your preferences.

Setting Up Messages
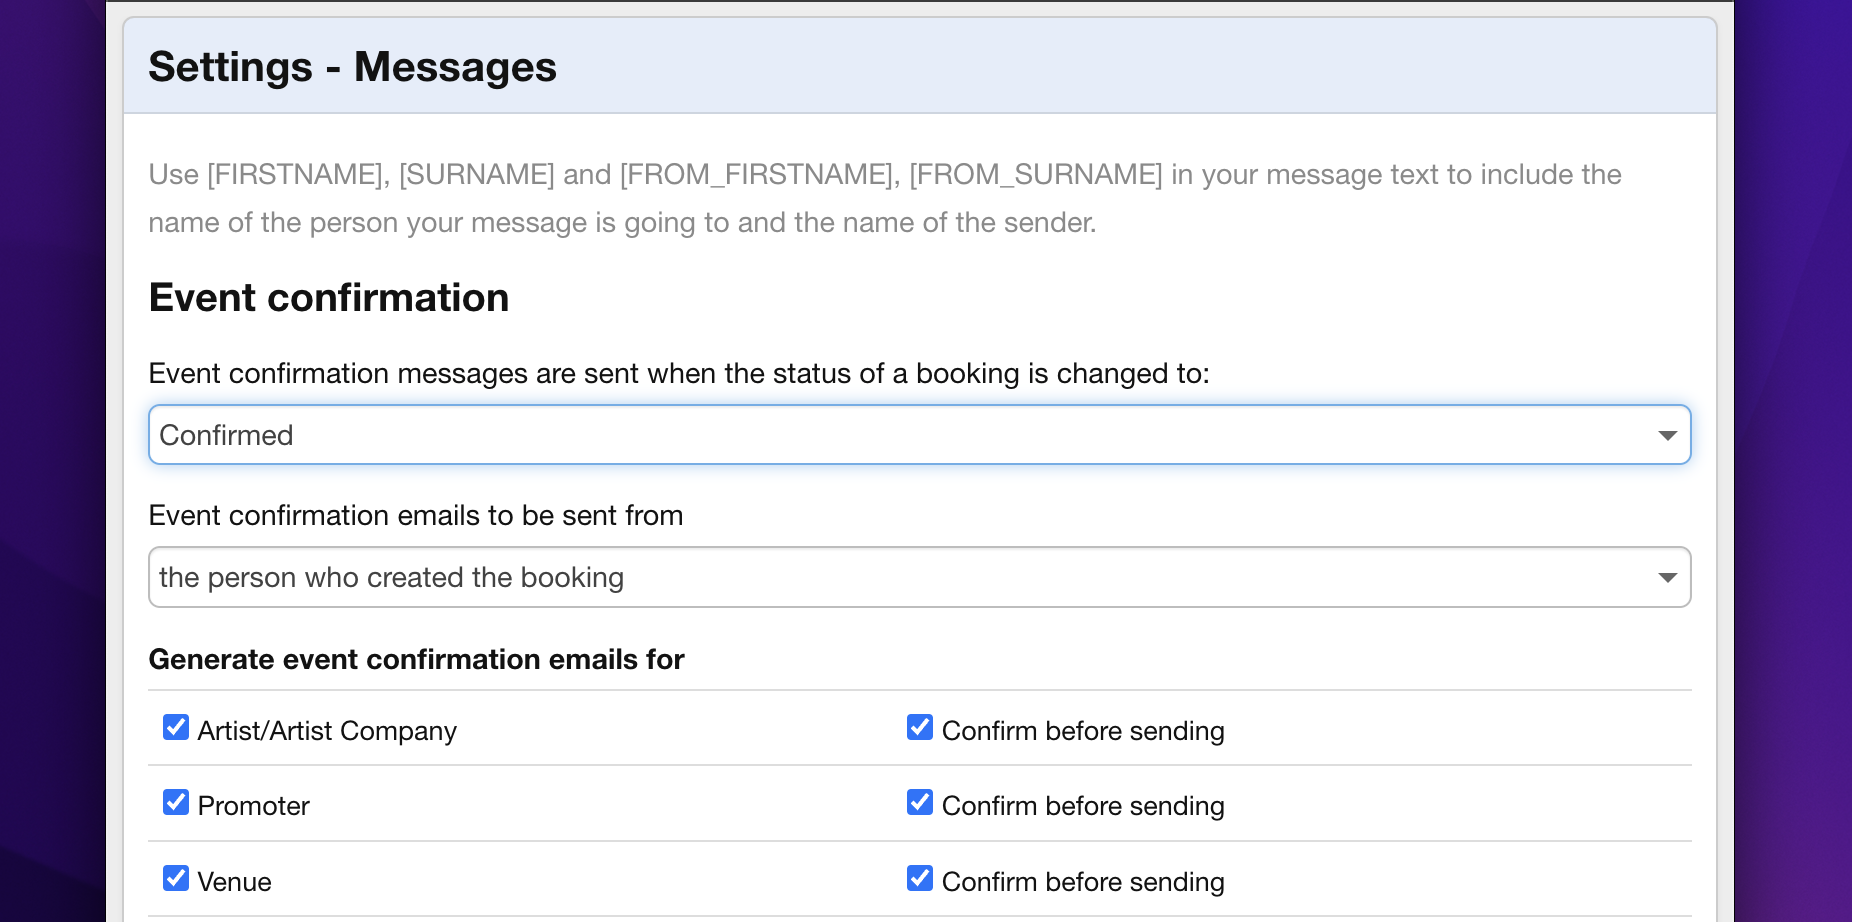
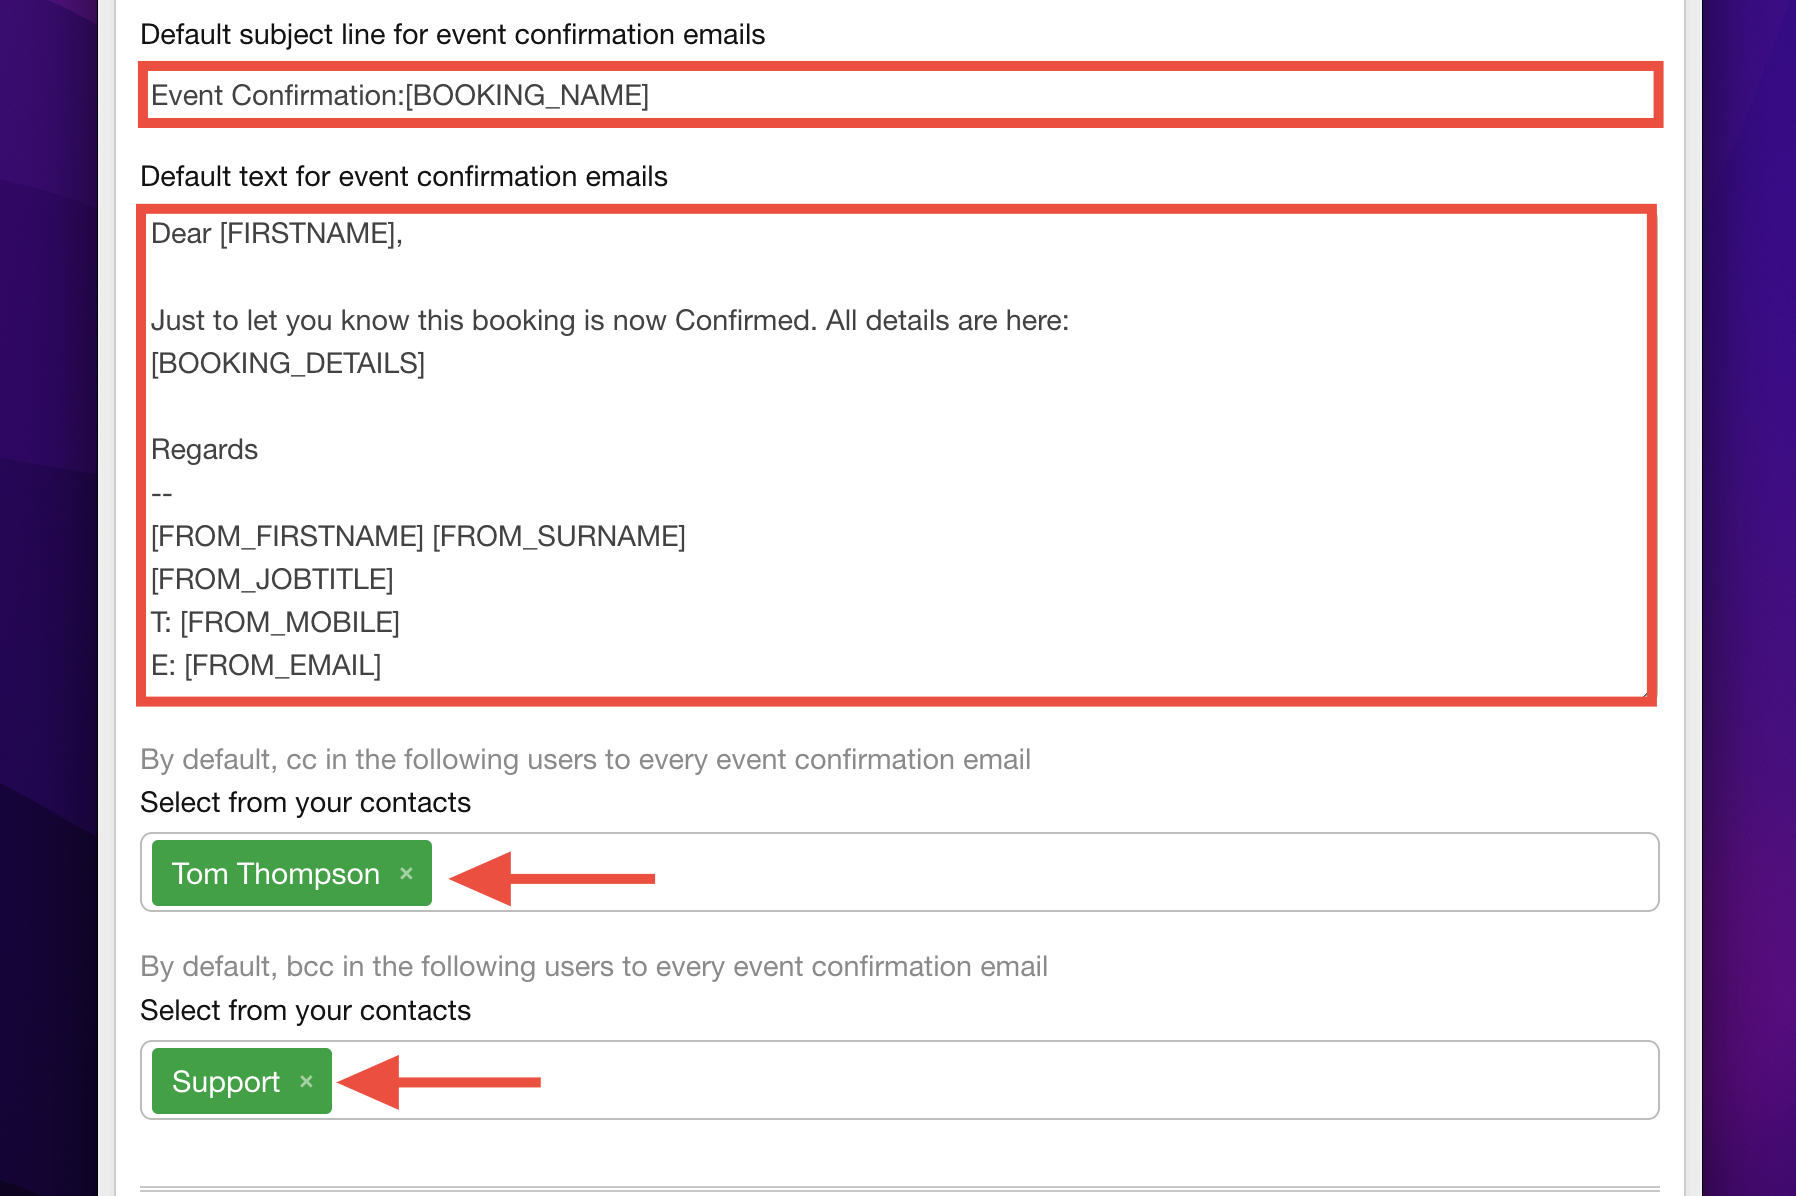
In Settings > Messages, you can customise automated messages, edit wording, and adjust options such as whether messages require confirmation before sending and what booking details to include. Each email can be tailored using Overture’s tagging system, which dynamically pulls in relevant data. For example, using tags like [BOOKING_NAME] ensures the correct details appear in your messages. A full list of tags is available in this help article.
Creating Custom Messages
You can also create Custom Messages that trigger based on specific conditions. Custom Messages allow you to control when and how messages are sent, ensuring flexibility for your workflows.
Learn more about custom messages:
Managing Your Outbox
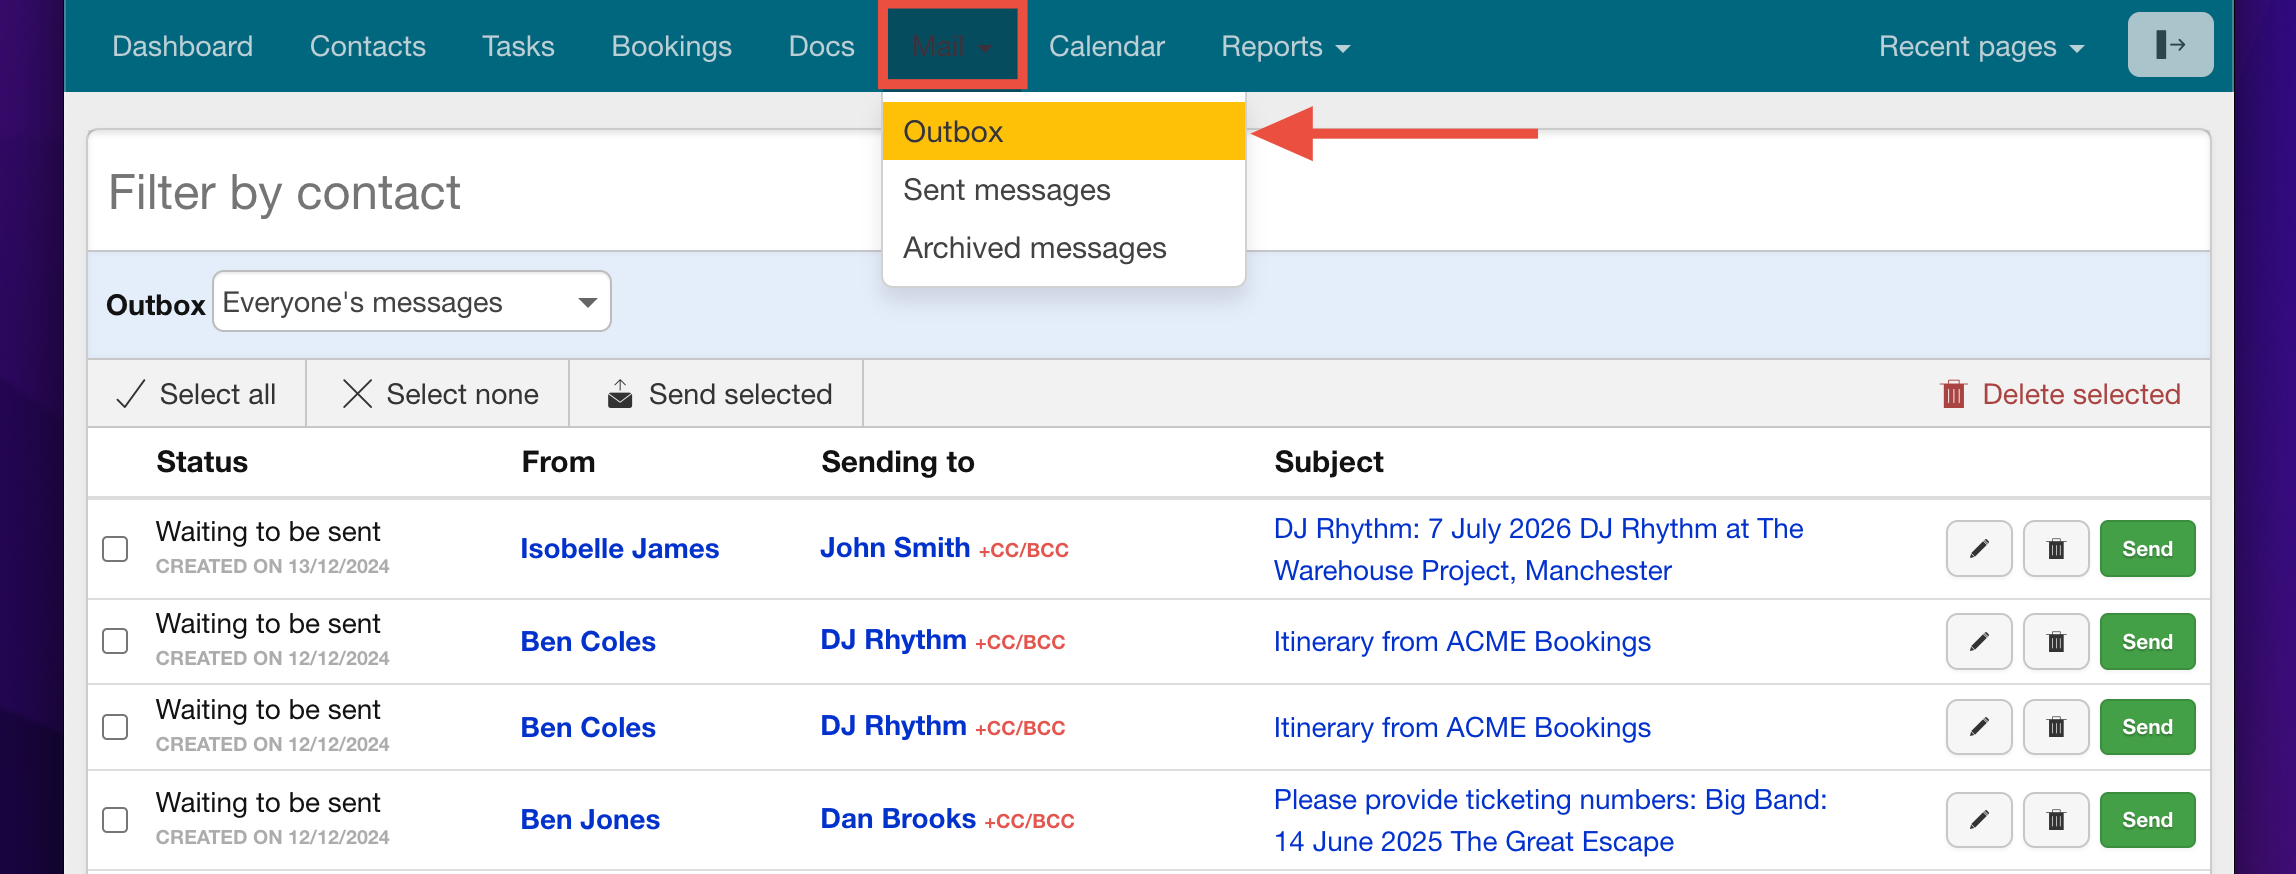
Once your messages are configured, navigate to the Outbox by selecting Mail > Outbox. Here, you can:
- View unsent messages.
- Search and filter messages by contact name or team member.
- Use the toolbar to multi-select, send, or delete messages.

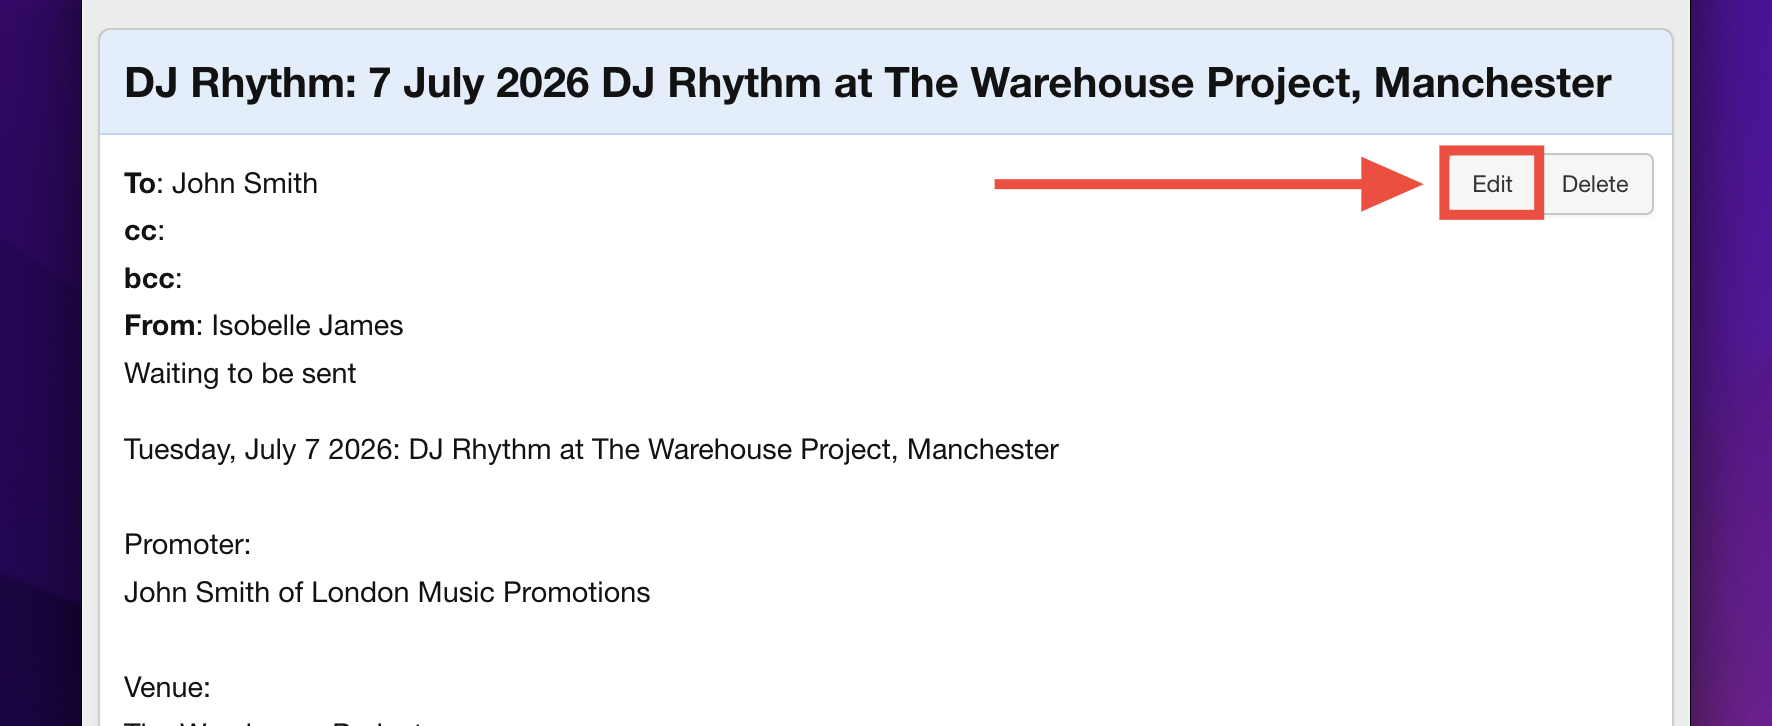
To add recipients, click +cc/bcc, and to edit a message, click on its title. In the message view, you can:
- Edit the subject line and content.
- Attach files.
- Send the message or delete it if no longer needed.

Viewing Sent Messages
To find previously sent emails, go to Mail > Sent Messages in the main menu. This allows you to review all sent communications efficiently.
By configuring your mail settings and using the Outbox effectively, Overture ensures you maintain smooth communication with your artists, promoters, and team members.
Viewing Archived Messages
To prevent the Outbox from becoming congested, any unsent emails will move to the ‘Archived Messages’ (Mail > Archived Messages) folder after two weeks.

