Further Information fields are a versatile feature in Overture designed to help you manage booking-specific details. These fields can be used to complete contracts, collect information from promoters, and include specific details in itineraries. This article will guide you through how to add them, manage them, and make the most of their functionality.
Important: A quick note before you read the rest of the article. Further Information fields are commonly connected with documentation. So often the names of the fields are mapped to contracts and itineraries. Edits to the fields themselves can break the link to the document so please consult the Overture support team if you would like to make any updates to this area of your account.
What Are Further Information Fields For?
- Contracts: Further Information are commonly mapped to merge fields in your contract templates. This allows any details added to a booking’s Further Information section to be automatically pulled into your contract templates, saving time and ensuring accuracy.
- Promoter Information Requests: These fields can be used to gather specific details from promoters by including them in an automatically generated request form. For example, you might request venue information, technical requirements, or other booking-related data.
- Itineraries: When generating itineraries for your artists, Further Information fields can help populate details such as ticket links, capacity, or any other custom information required for the itinerary.
How to Add Further Information Fields to a Booking
You can add individual Further Information fields directly to a booking page or set up reusable fields in the settings for quick access in the future.
Note: Newly added fields here will not show up on your contract. Please contact Overture support to discuss mapping the field to your contract template.
Adding Fields Directly on a Booking Page
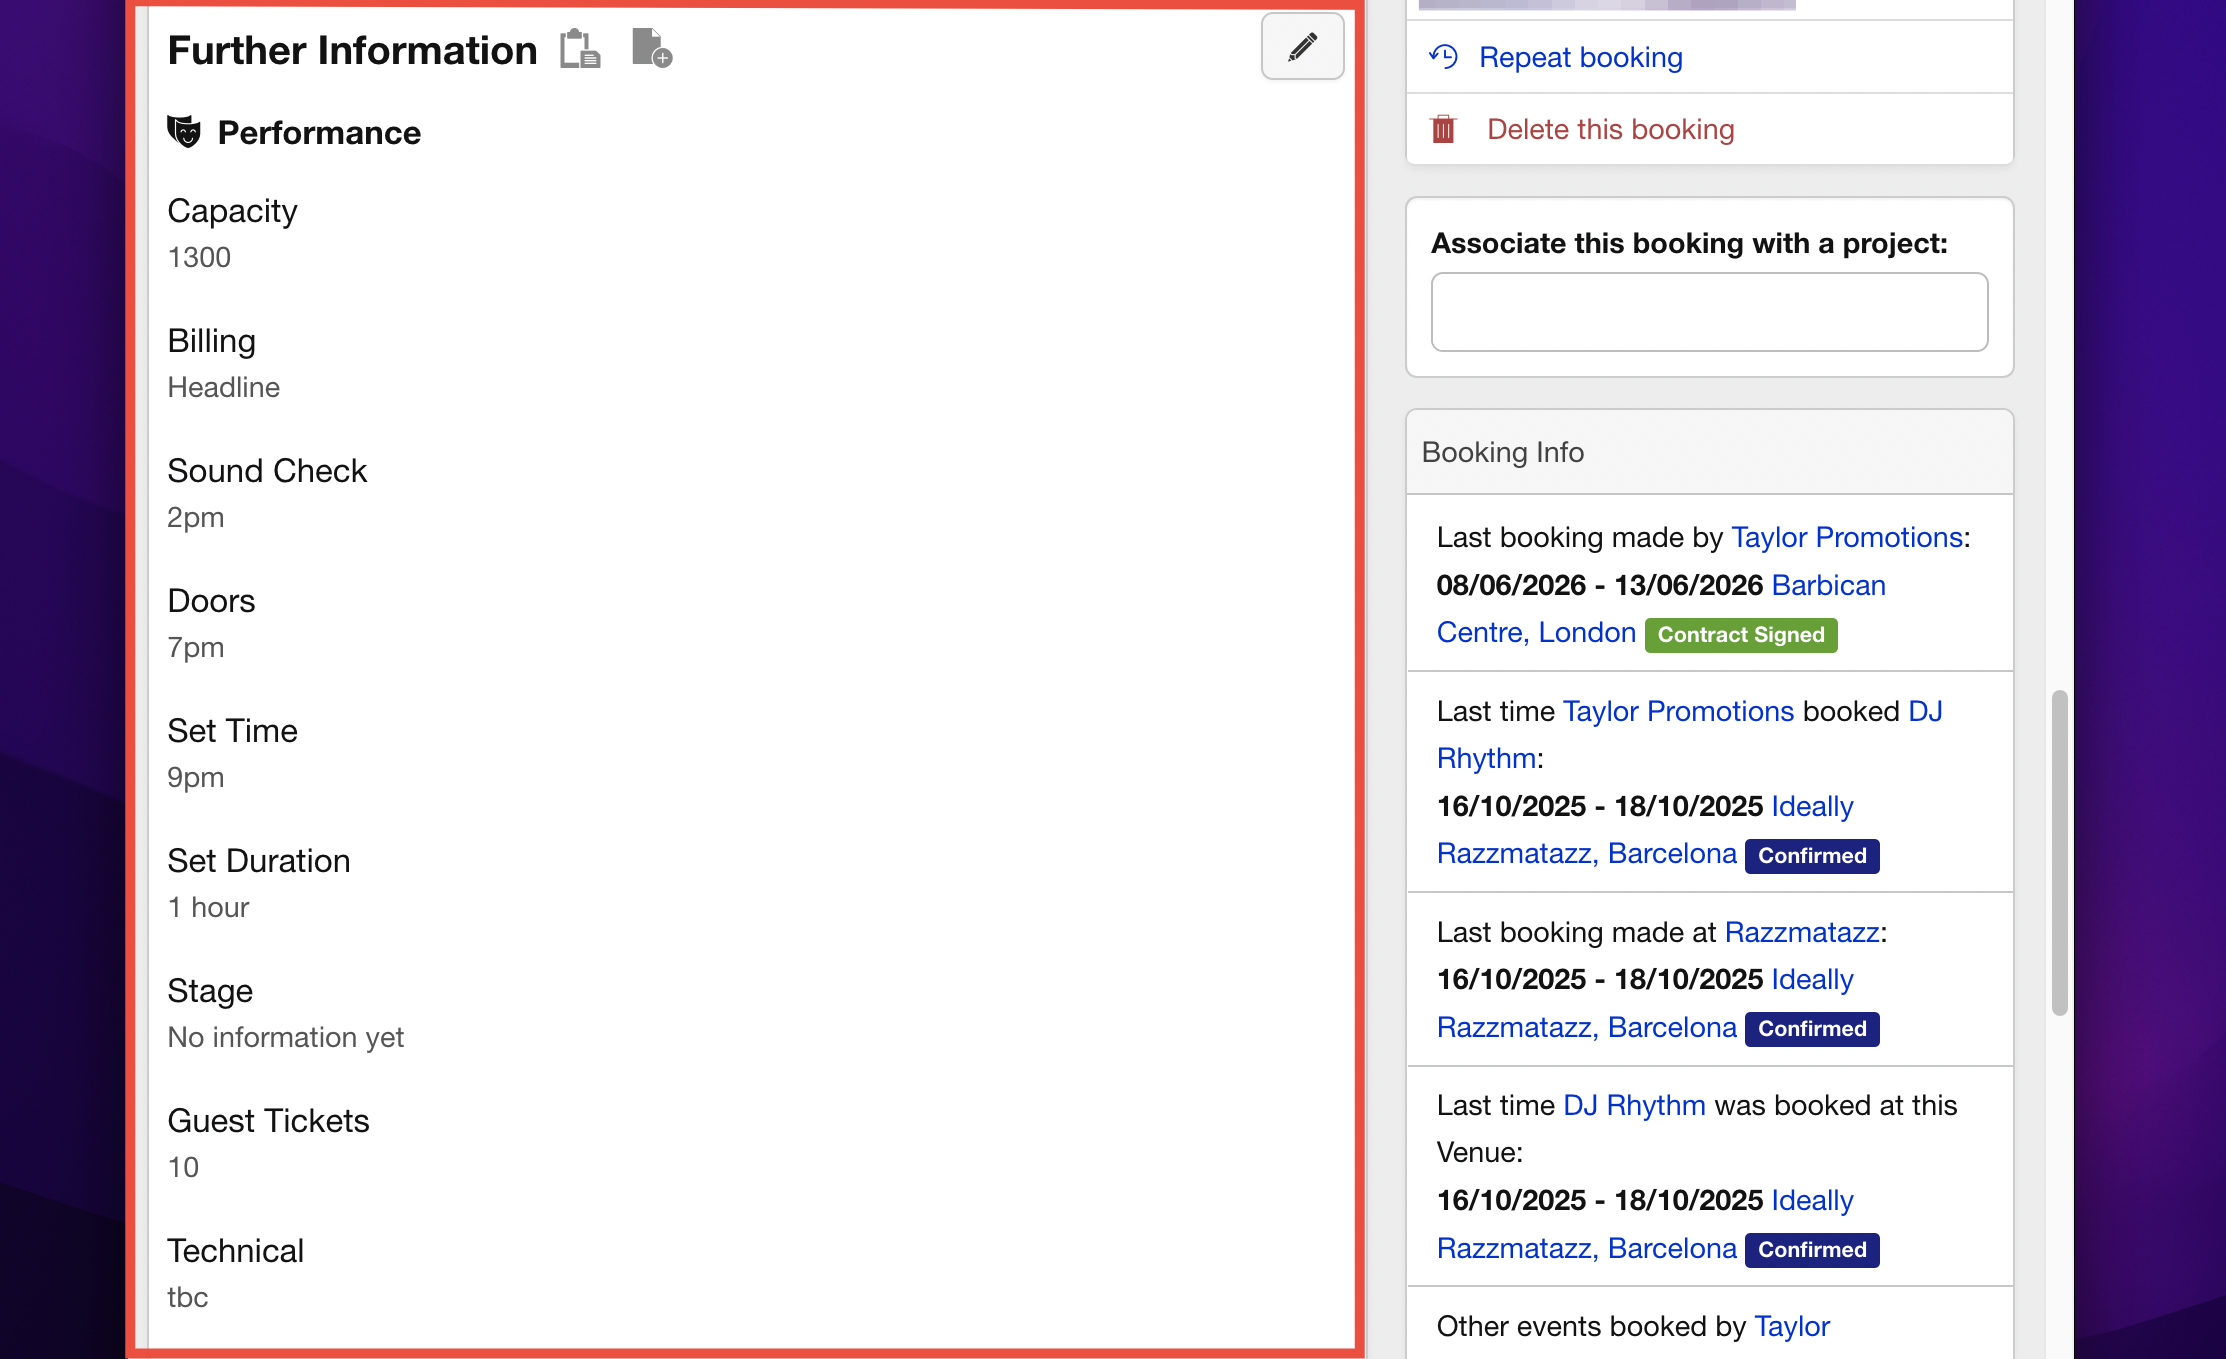
- Open the relevant booking page.
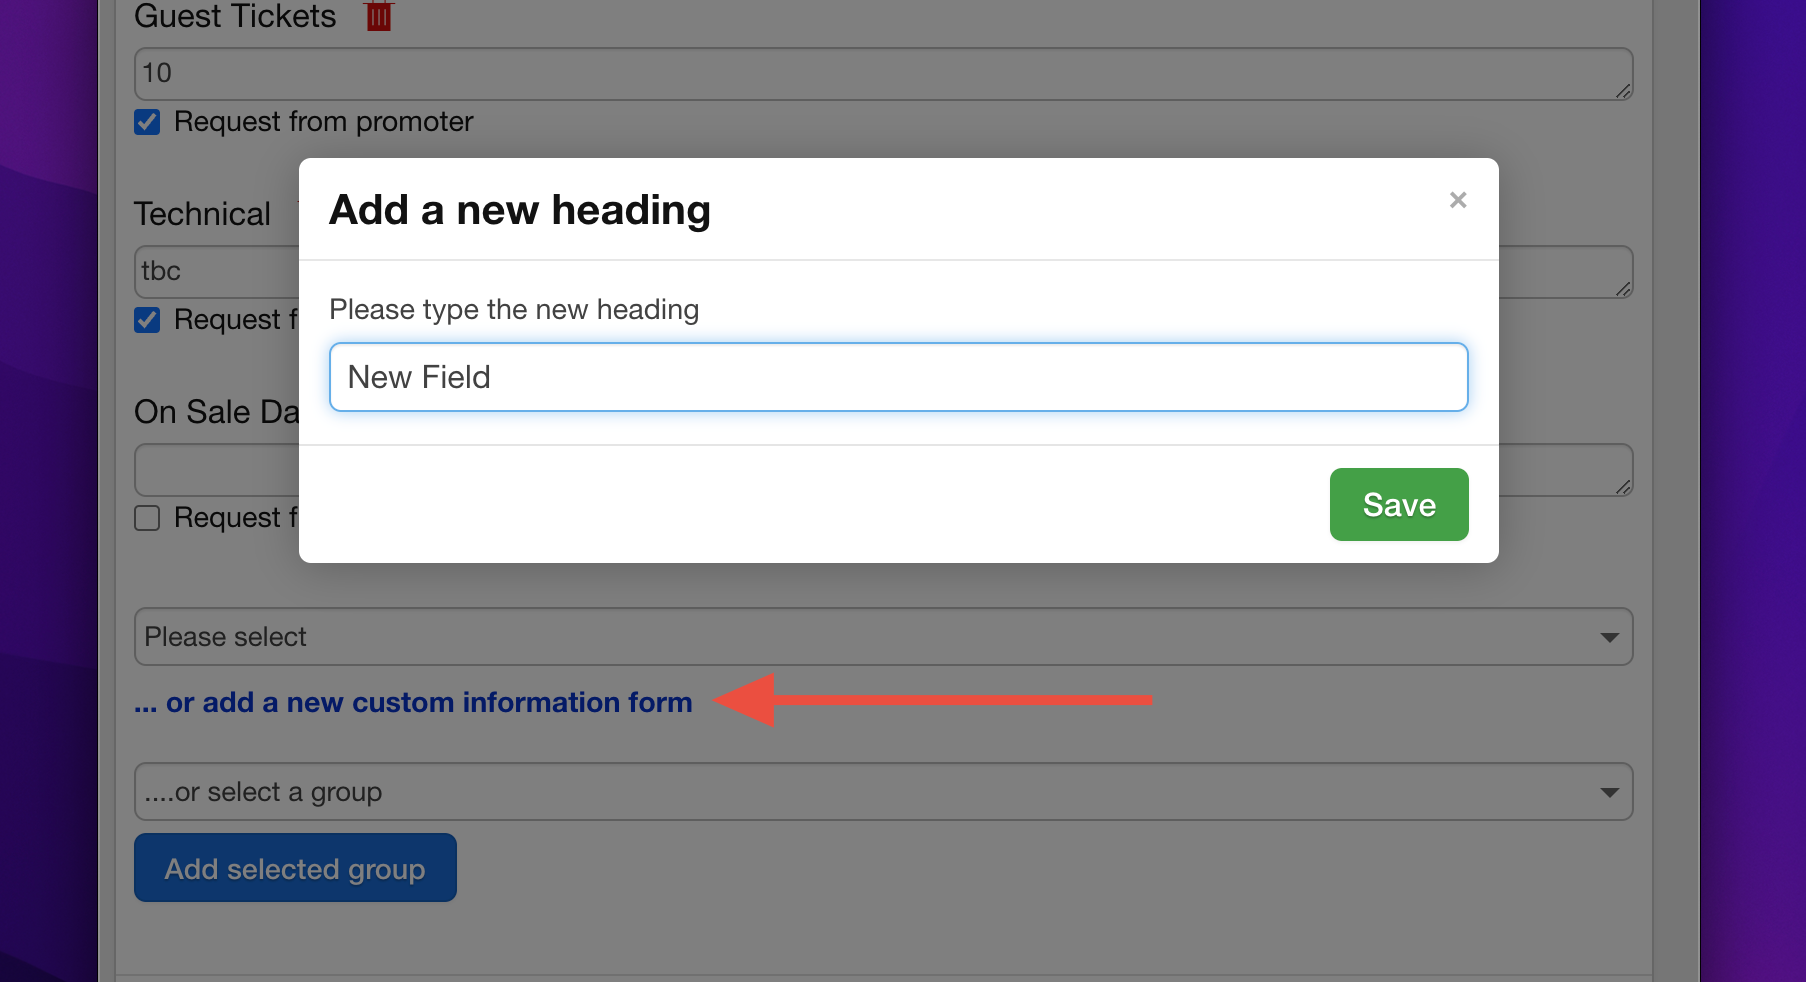
- Scroll down to the Further Information section and click on the Add a new custom information form link.
- Enter a title for your field in the popup box and click Save.
- Input the required information into the new field’s text box.
This method is ideal for one-off custom fields that you don’t need to reuse frequently.
Creating and Managing Further Information Fields in Settings
For fields you use regularly, it’s more efficient to set them up in Settings. These predefined fields will then be available to apply to any booking.
- Go to Settings > Bookings in the sidebar.
- Scroll to the bottom to find the Further Information Fields section.
- To add a new group of fields:
- Click Add Another Group, name the group, and click Save.
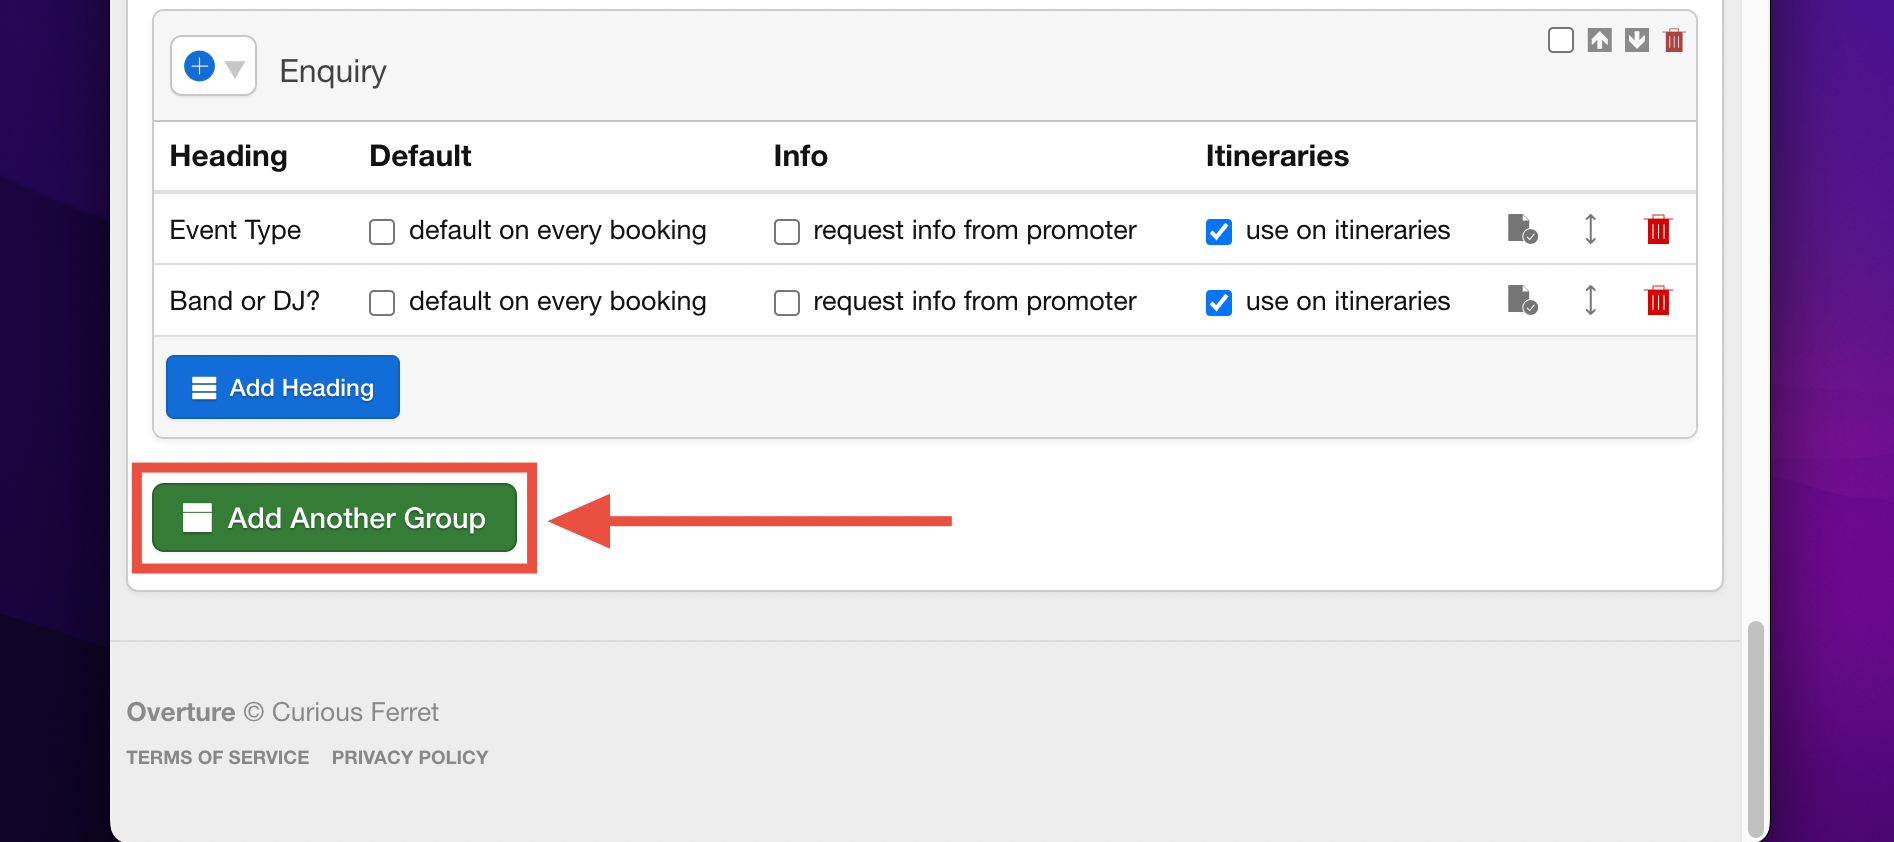
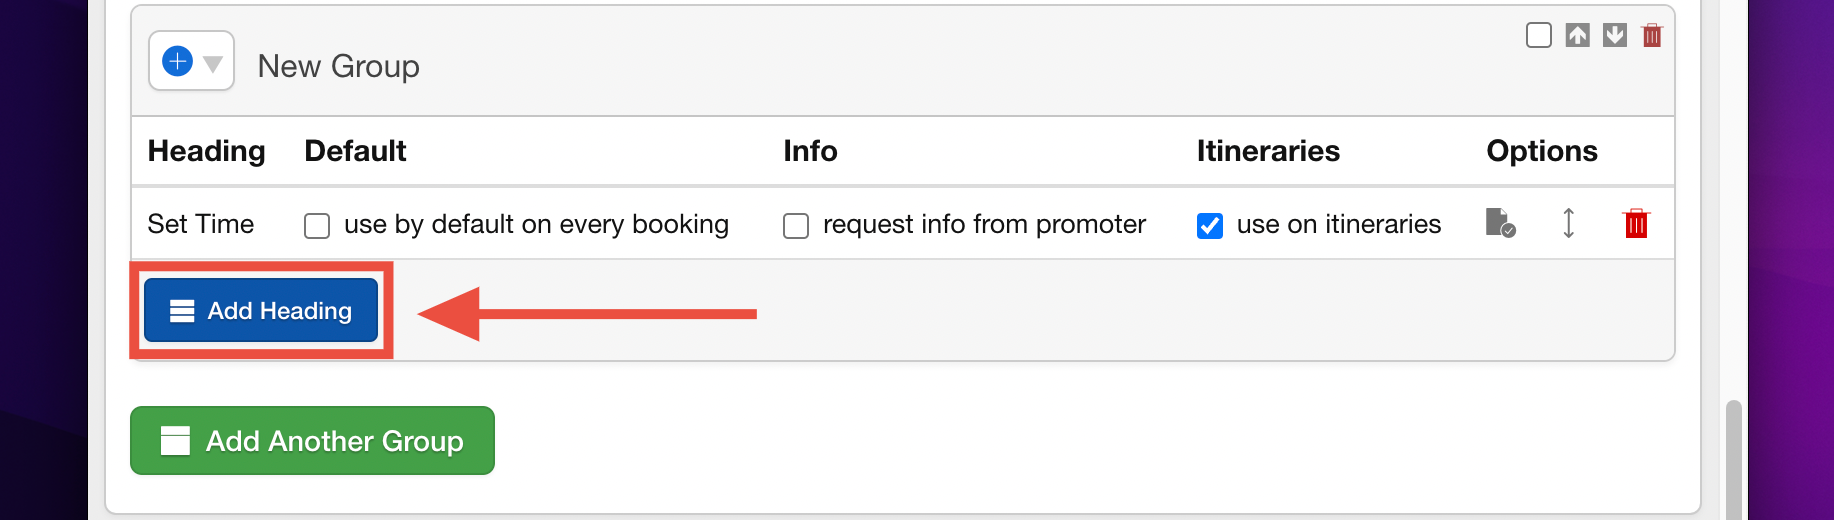
- Use the Add Heading button within the group to add individual fields.
- Click Add Another Group, name the group, and click Save.
Groups created here will appear in a dropdown menu on the booking page, where they can be added to bookings as a whole.
Customising Further Information Fields
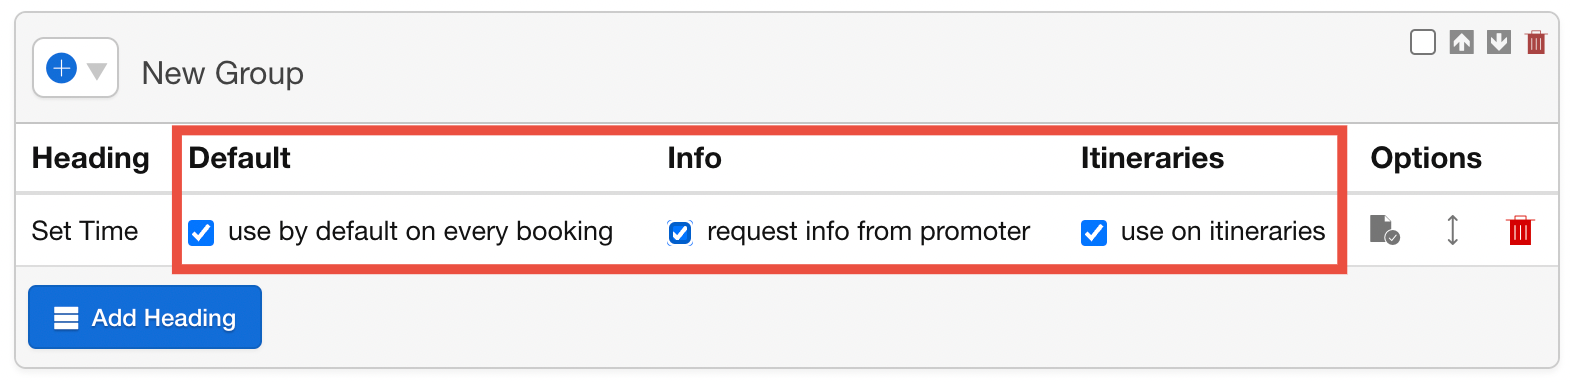
Each field you create comes with additional settings to help you tailor its functionality:
- Use by default on every booking: Makes the field automatically appear on all new bookings.
- Request info from promoter: Adds the field to the request form when asking promoters for information (useful for ‘advancing’ shows).
- Use on itineraries: Ensures the field is available for selection in the Itineraries Report and can be included in published itineraries.
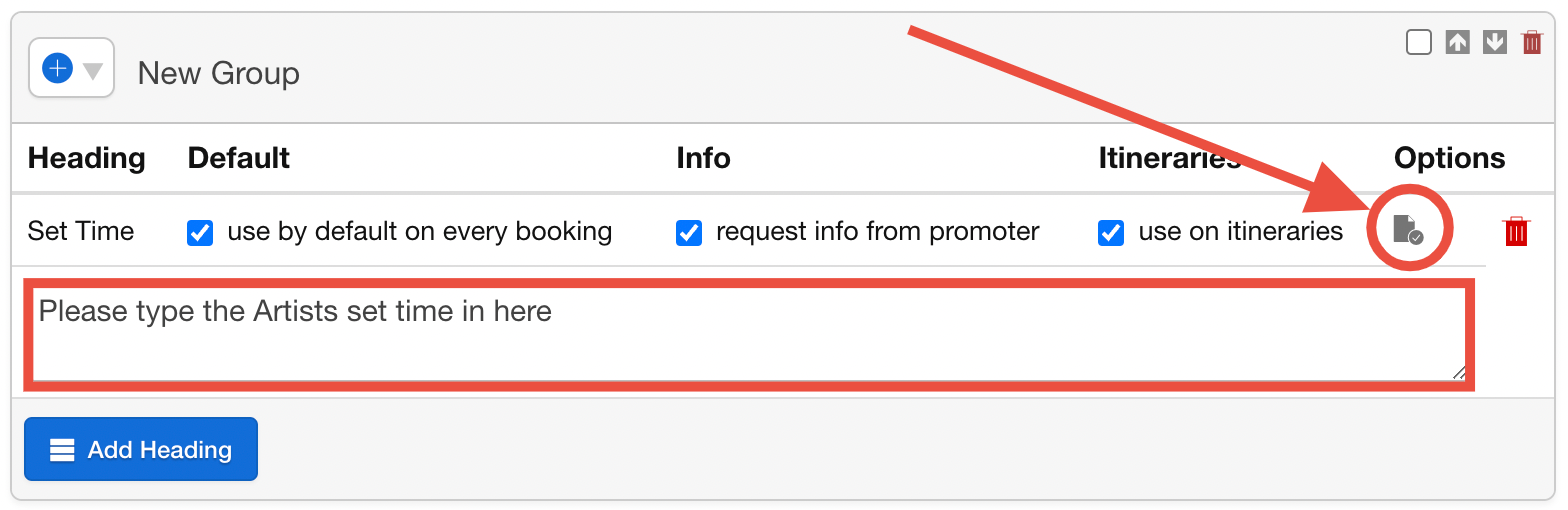
Adding default text into the Further Information field
There is one more very useful tool available. Clicking the ‘checklist’ icon will open up a text box in which you can type some default ‘prompt’ text. This text will populate automatically in the booking, which can be especially useful for Promoter Information requests. The text can act as a prompt for the promoter to accurately complete the information required in a required format.
Further Information fields provide a flexible and powerful way to manage additional details in Overture. By setting them up effectively and understanding their uses, you can enhance your workflow, improve communication, and maintain professional documentation for your bookings.